
Introduction
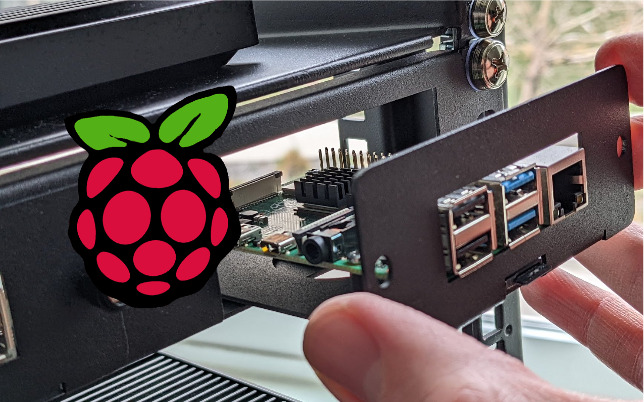
A Raspberry Pi SBC (Single Board Computer) is a convenient, inexpensive, and reliable option for many network applications. This guide walks you through the process of writing an SD card that will have your Pi ready to go upon first boot as a headless server with custom credentials, SSH access, and a static IP address; all without needing to plug in a keyboard and monitor to configure it.
Raspberry Pi Imager
The first few steps will use the Raspberry Pi Imager utility, which can be downloaded from their website.
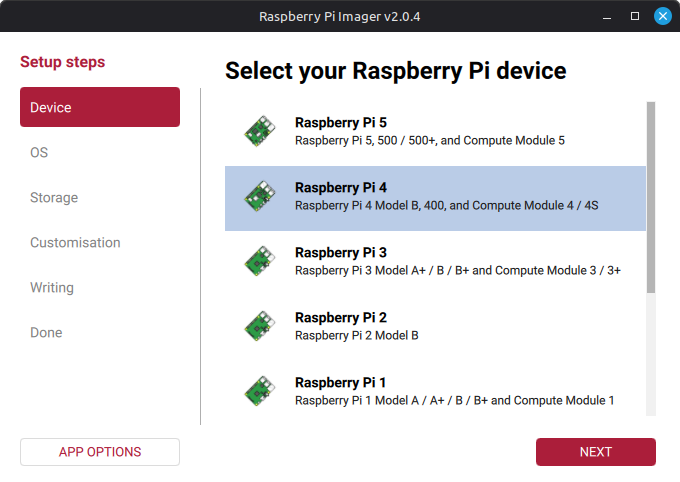
Device
First select your Raspberry Pi model.
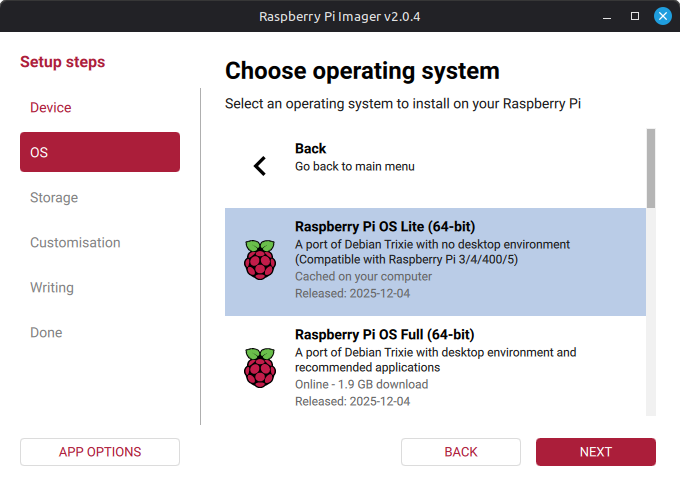
OS
For a headless system, there is no need for the desktop environment included in the main Operating System options. So when you select your OS, scroll down to the “Raspberry Pi OS (other)” section and select “Raspberry Pi OS Lite”.

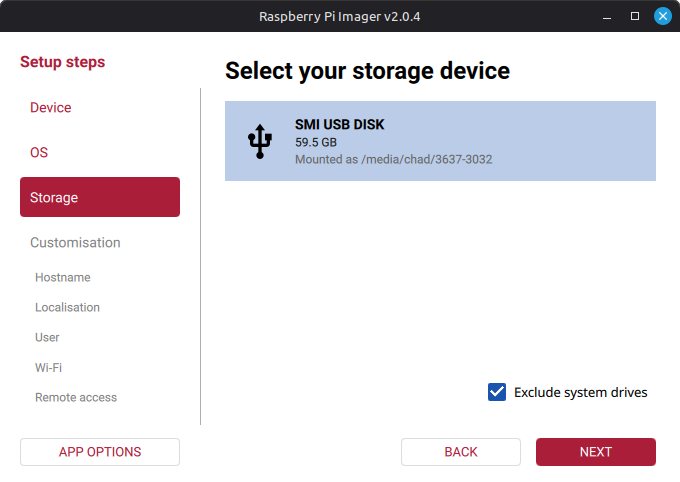
Storage
Select your SD card to write the image to. System drives are excluded from the list by default
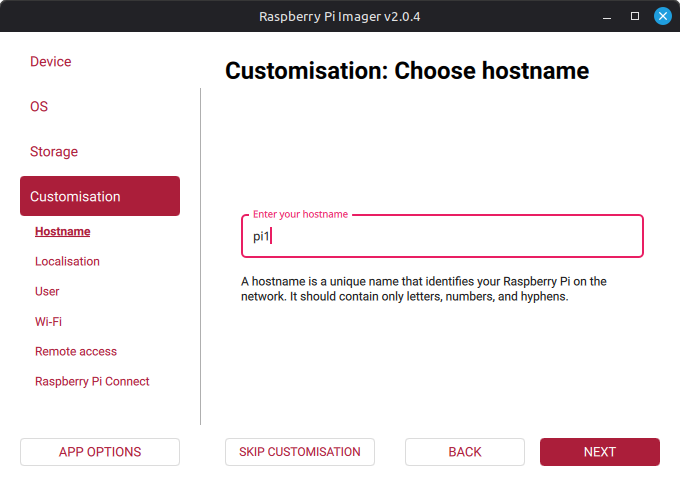
Hostname
Set the hostname for your Pi here. A unique hostname will help to find the device on the network in later steps.
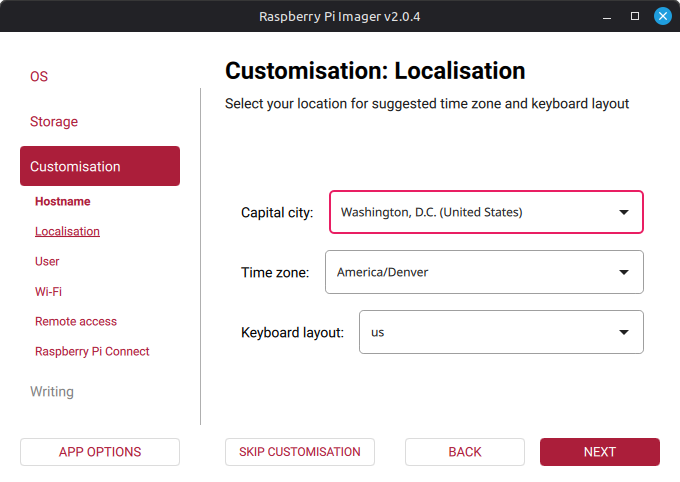
Localisation
First you will need to select the capital city of the country you reside in. Then you can select your time zone and keyboard layout.
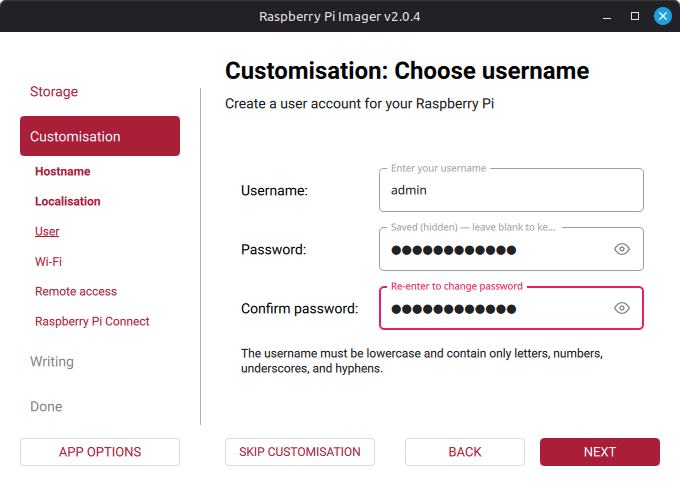
User
Set a username and password here. It is best security practice not to set the default ‘pi’ user.
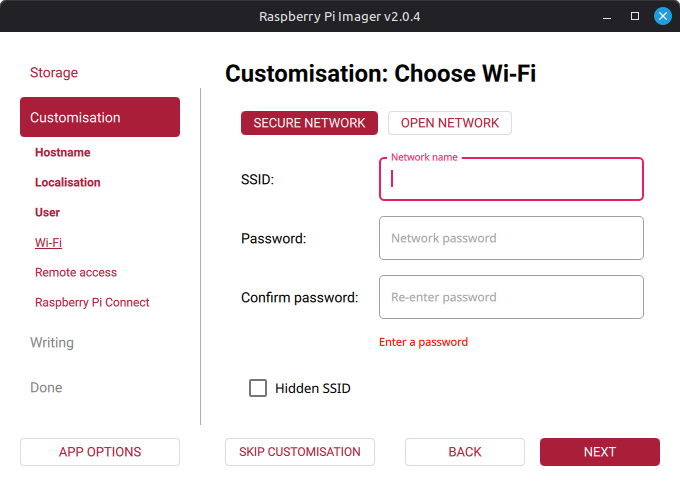
WiFi
If you’ll be using a wired ethernet connection (recommended for server applications), you can skip this step. But if you’ll be using WiFi, you can configure your network here.
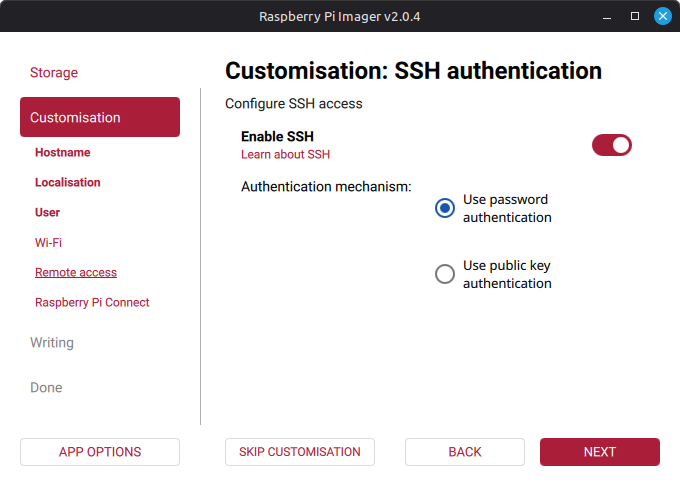
SSH
Make sure to enable SSH so that you can manage your Pi over the network.
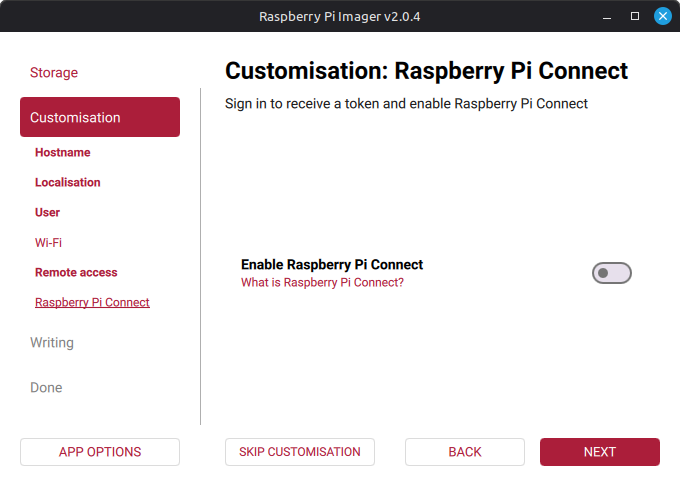
Raspberry Pi Connect
If you have a Raspberry Pi account, you can also configure remote access via Raspberry Pi Connect.
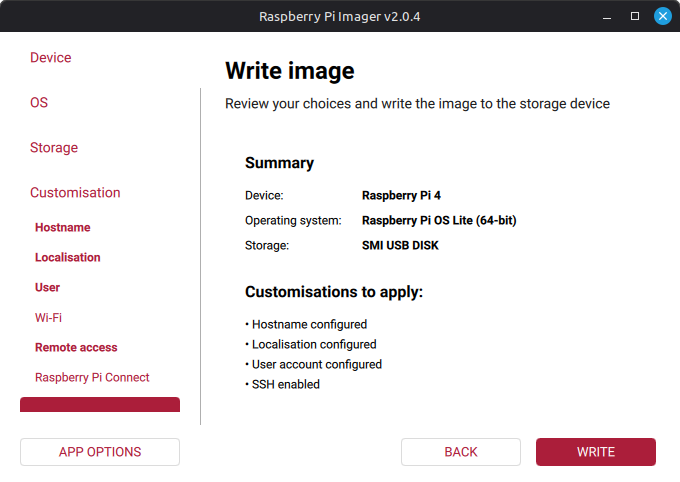
Write
Once everything is configured, go ahead and write your customized image to the card.
After the card has been written, eject and insert it to your Raspberry Pi, and start it up.
For any server/network application, your Pi should have a static IP. Unfortunately the Imager application does not provide this option. A previous version of this article created a startup script on the SD card to configure a static IP, but recent changes to Raspberry Pi OS have made this method no longer work. Instead we will cover how to locate the Pi’s dynamic address on the network in the next section.
SSH To Your Pi
To SSH to your Pi, first we must find its IP address on the network. By default it uses DHCP to obtain an IP address. To find out what address it was given, we must scan your local network subnet for it. This is why a hostname should be configured in the previous section.
You can use a graphical tool such as Angry IP Scanner or Zenmap to scan a given network range. If you have the CLI tool nmap on Linux or Windows, you can use a command such as the following to easily find your Pi by the hostname.
nmap -sn 192.168.1.1-254 | grep <your hostname>This will ping all addresses from 192.168.1.1 to 192.168.1.254 and return their hostnames, then use grep to filter out the hostname set on your Pi. You can remove the grep portion to see all results. Replace the IP range with the one for your local subnet.
Once you know your IP, you can use it to SSH to your Pi with your preferred terminal emulator.
Configure a Static IP
Configuring a static IP address on older versions of Raspberry Pi OS/Raspbian was as simple as editing the appropriate config file. This has become more complicated with the latest versions, which are based on Debian 12. You must now use a series of nmcli commands, such as the following.
First, run nmcli dev status to determine the connection name for the interface. This will be used in subsequent commands.
nmcli dev status
DEVICE  TYPE      STATE                   CONNECTION
eth0    ethernet  connected               netplan-eth0
lo      loopback  connected (externally)  lo
Change the example IP values in the commands below to suit your network configuration.
Configure the IP and netmask:
sudo nmcli connection modify 'netplan-eth0' ipv4.address '192.168.1.23/24'Configure the default gateway:
sudo nmcli connection modify 'netplan-eth0' ipv4.gateway '192.168.1.1'Set the config method to Manual:
sudo nmcli connection modify 'netplan-eth0' ipv4.method manualConfigure a DNS server:
sudo nmcli connection modify 'netplan-eth0' ipv4.dns '1.1.1.1'Reboot the system so that the settings take effect:
sudo rebootFinish
Now SSH to the static IP that you configured. If all has gone well, your Pi is ready to go on your network. Have fun!